 June 3, 2005 - Friday - In this home there will be no typical exhaust fans in
the ceiling of the bathrooms or laundry room. Instead we are using a
"multi-port inline ventilator". These units have four 4" inlets and one 6"
outlet. The idea is to have one fan service the bathrooms and laundry
room. One great benefit of this setup is there will be no exhaust fan
noise in the rooms! We are using the
Broan MP200
unit for the bathrooms and laundry room. This unit moves 200 "cfm" (cubic
feet per minute) of air so it will be perfect for this application since each of
our four locations need a minimum of 50 cfm "on demand" exhaust according to code.
"Four locations?" Yes, the master bathroom, the small room just for the toilet
inside the master bathroom (we like to call it the "WC" for water
closet), the guest bathroom, and the laundry room. The
MP200 will be
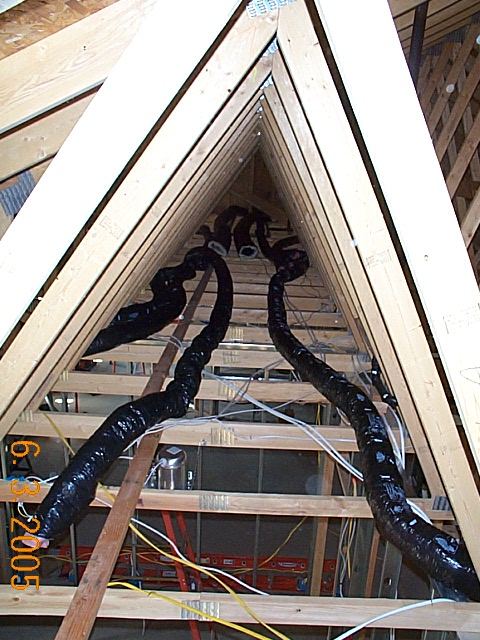
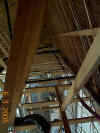
installed in the attic, but where to put it? This picture shows the
insulated flexible ducts that we'll use to connect the exhaust ports in the
various rooms to the ventilator, and to connect the outlet of the ventilator to
the outside. The best way to position the
MP200 is to lay out the ducts
and see at what position they can all come together.
June 3, 2005 - Friday - In this home there will be no typical exhaust fans in
the ceiling of the bathrooms or laundry room. Instead we are using a
"multi-port inline ventilator". These units have four 4" inlets and one 6"
outlet. The idea is to have one fan service the bathrooms and laundry
room. One great benefit of this setup is there will be no exhaust fan
noise in the rooms! We are using the
Broan MP200
unit for the bathrooms and laundry room. This unit moves 200 "cfm" (cubic
feet per minute) of air so it will be perfect for this application since each of
our four locations need a minimum of 50 cfm "on demand" exhaust according to code.
"Four locations?" Yes, the master bathroom, the small room just for the toilet
inside the master bathroom (we like to call it the "WC" for water
closet), the guest bathroom, and the laundry room. The
MP200 will be
installed in the attic, but where to put it? This picture shows the
insulated flexible ducts that we'll use to connect the exhaust ports in the
various rooms to the ventilator, and to connect the outlet of the ventilator to
the outside. The best way to position the
MP200 is to lay out the ducts
and see at what position they can all come together.
We will also install a smaller version of this ventilator, the
MP100, as a
whole house exhaust fan. Unlike the MP200, the
MP100 will run 24 hours per
day to make sure we have the proper amount of "air exchanges per hour" in our
home. This is very important in regard to good indoor air quality. These
units are designed for continuous operation just for this purpose. The
four inlets for the
MP100 will be in each of the three bedrooms and one for the
living/dining area.
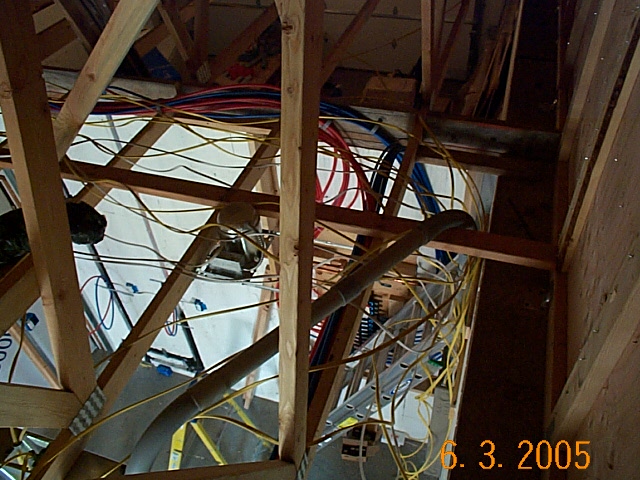
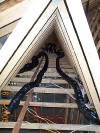
 June 3, 2005 - Friday - As wiring continues the area above the breaker panel
sees more and more wires installed since all the branch circuits have to start
and end here. It looks like a mess now but it will all be orderly before
the next inspection.
June 3, 2005 - Friday - As wiring continues the area above the breaker panel
sees more and more wires installed since all the branch circuits have to start
and end here. It looks like a mess now but it will all be orderly before
the next inspection.
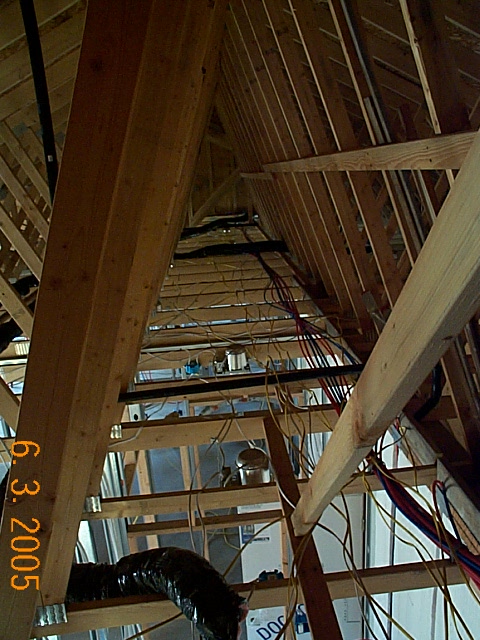
 June 3, 2005 - Friday - Here is another picture of all the branch circuit wires
moving off through out the attic.
June 3, 2005 - Friday - Here is another picture of all the branch circuit wires
moving off through out the attic.
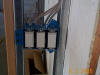 June 3, 2005 - Friday - Here is a picture of the wall switches just outside the
laundry room. We have chose to use
Leviton's "Decora" model of switches which are a type of "rocker" switch.
Not only do these look great, they seem to be easier to turn on and off than a
standard "toggle" switch.
June 3, 2005 - Friday - Here is a picture of the wall switches just outside the
laundry room. We have chose to use
Leviton's "Decora" model of switches which are a type of "rocker" switch.
Not only do these look great, they seem to be easier to turn on and off than a
standard "toggle" switch.
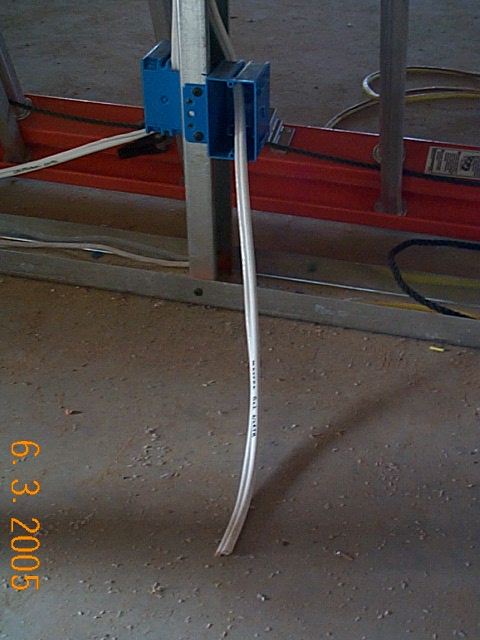
 June 3, 2005 - Friday - In the past, coax (TV cable), telephone wire, and
computer network wire all had to be pulled separately since they were all
separate wires. Today we can get all three of these in a single cable!
This picture shows this "all in one" cable sticking out of a box in the master
bedroom.
June 3, 2005 - Friday - In the past, coax (TV cable), telephone wire, and
computer network wire all had to be pulled separately since they were all
separate wires. Today we can get all three of these in a single cable!
This picture shows this "all in one" cable sticking out of a box in the master
bedroom.
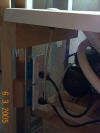 June 3, 2005 - Friday - As mentioned before, the pump and water heater for our
whirlpool tub each have to be on their own 15 amp circuit. In addition,
both receptacles have to be GFCI (ground fault circuit interrupt) protected since this is
a potentially wet area. This picture shows the pump and heater plugged
into their respective outlets. Since its potentially dangerous to sit in
a hot tub too long, we have put the pump and heater on a rotary timer switch
with a maximum setting of 60 minutes. When the timer goes off and shuts
off the pump, this will hopefully remind the bather to consider if they have
been in long enough!
June 3, 2005 - Friday - As mentioned before, the pump and water heater for our
whirlpool tub each have to be on their own 15 amp circuit. In addition,
both receptacles have to be GFCI (ground fault circuit interrupt) protected since this is
a potentially wet area. This picture shows the pump and heater plugged
into their respective outlets. Since its potentially dangerous to sit in
a hot tub too long, we have put the pump and heater on a rotary timer switch
with a maximum setting of 60 minutes. When the timer goes off and shuts
off the pump, this will hopefully remind the bather to consider if they have
been in long enough!
You can also notice in this picture the clear tube coming down from the
button on the tub deck. This is the button which allows the person sitting in
the tub to turn off and on the pump. Since we would NEVER want a person in
a tub to touch a switch with wires attached to it, this button uses air
pressure! The button itself is a tiny pump which sends pressure into the
tube which activates a switch on the pump! Neat!
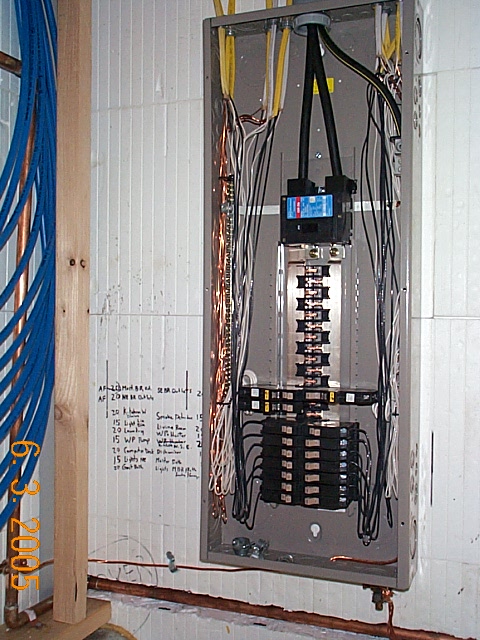
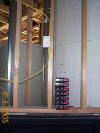
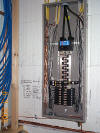 June 3, 2005 - Friday - As more branch circuits are installed, more breakers and
wires appear in the breaker panel. Notice the writing on the wall just to
the left of the breaker panel. This is where the installer keeps track of which breaker goes to
which circuit. This labeling will of course be transferred to the breaker
panel cover when all is complete.
June 3, 2005 - Friday - As more branch circuits are installed, more breakers and
wires appear in the breaker panel. Notice the writing on the wall just to
the left of the breaker panel. This is where the installer keeps track of which breaker goes to
which circuit. This labeling will of course be transferred to the breaker
panel cover when all is complete.
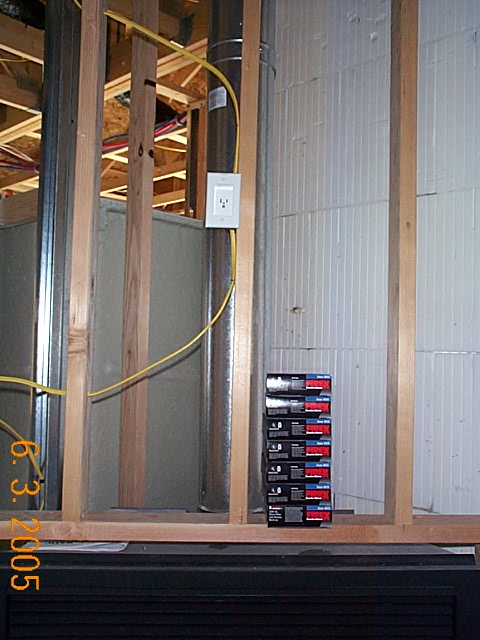
 June 3, 2005 - Friday - Since the price of flat panel televisions is continuing
to drop, we have installed an outlet over the fireplace in case a future
resident wants to hang a flat TV here. We'll also install conduit up to
this location so a video cable can be run up here. Notice the boxes from
all of our smoke detectors stacked up on the fireplace framing. The smoke
detectors are all installed. Per code they all must be powered by the
electrical service for the home. Further they must be interconnected so
that if one goes off, they all go off. For extra protection we chose units with battery
back-up so they will continue to work if the power goes out. For this home we
chose FixeX model
4618 units.
June 3, 2005 - Friday - Since the price of flat panel televisions is continuing
to drop, we have installed an outlet over the fireplace in case a future
resident wants to hang a flat TV here. We'll also install conduit up to
this location so a video cable can be run up here. Notice the boxes from
all of our smoke detectors stacked up on the fireplace framing. The smoke
detectors are all installed. Per code they all must be powered by the
electrical service for the home. Further they must be interconnected so
that if one goes off, they all go off. For extra protection we chose units with battery
back-up so they will continue to work if the power goes out. For this home we
chose FixeX model
4618 units.
Back to Summer Breeze Lot 27
Gallery

![[Company Logo Image]](../../images/gmb_hires_10_percent.gif)